Sometimes – and more often than we would like – it’s impossible to get at the direct URL for a stream. That’s when desperate times call for desperate measures, and we need to just “film what’s on the screen.” So we need a screen-capture program!
The best free option for screen capturing I came across is OBS (Open Broadcaster Software.)
Screen-capturing is only one of many features this tool is great for. For simplicity, I’ll stick to this one in this post.
Install
Official download site: https://obsproject.com/
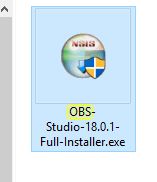
Select the appropriate OS from the list. The install file will land in your download folder.
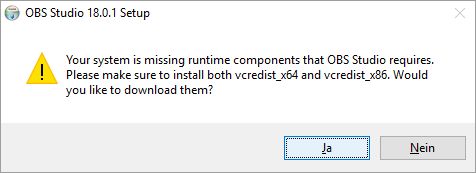
First hurdle: During install, the program might complain it is missing files.
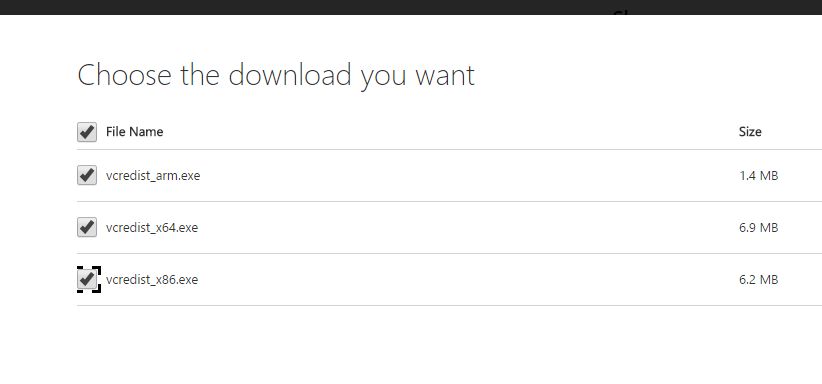
If that happens, it automatically redirects you to right site on microsoft.com, you check all options and click download.
Now you have to double-click on the components you just downloaded once to run them and install them. (Which takes about two seconds each.)
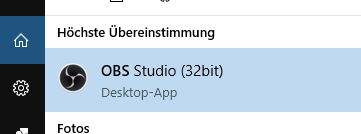
When you try to run the install file again, it should work without any more problems. If you run Windows 10, the program now appears in your list if you just start typing “OBS” into the little window on the bottom of your screen.
Settings and options
Language
First of all, you can set the language. Go to File -> Settings and it’s right on top in “General.” You have to restart the program for the changes to apply.
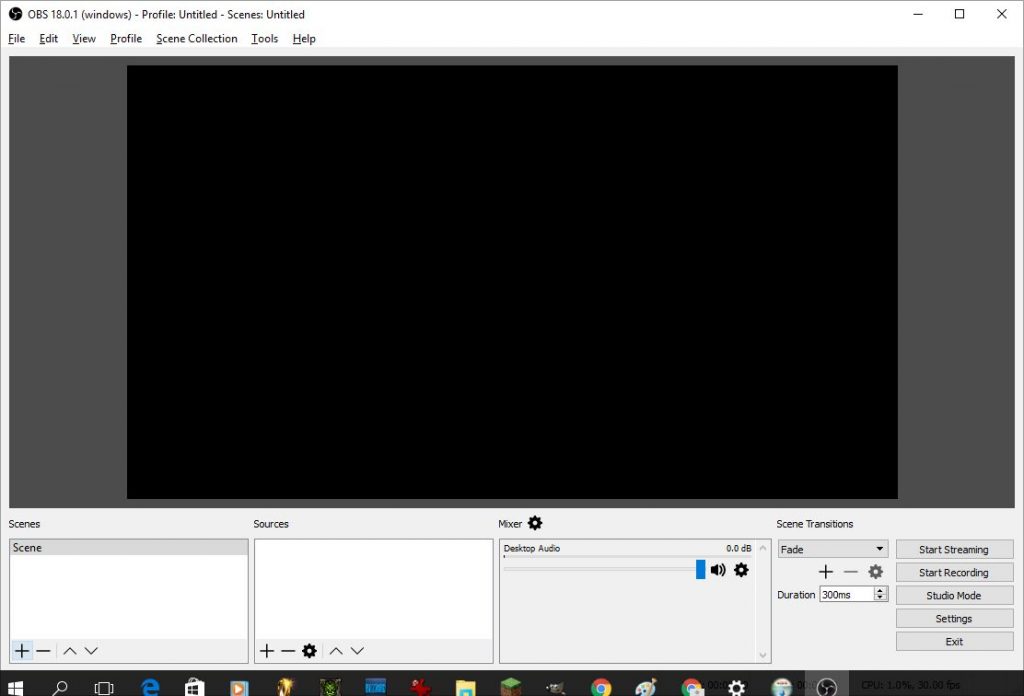
When the program opens, it looks quite empty.
Just start from left to right and work your way through!
Scene
Here you give the scene a name. It won’t turn up as the file name, but you have to create one for the program to work. Click on the little “+” below “Scene” and add one.
Sources
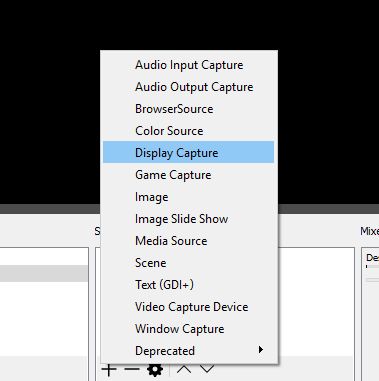
Now it gets important. When you click on the “+” symbol there you see a lot of options. Feel free to play with the program there a little. You can record video sources directly, and capture games as well. Choose “Display Capture” for now.
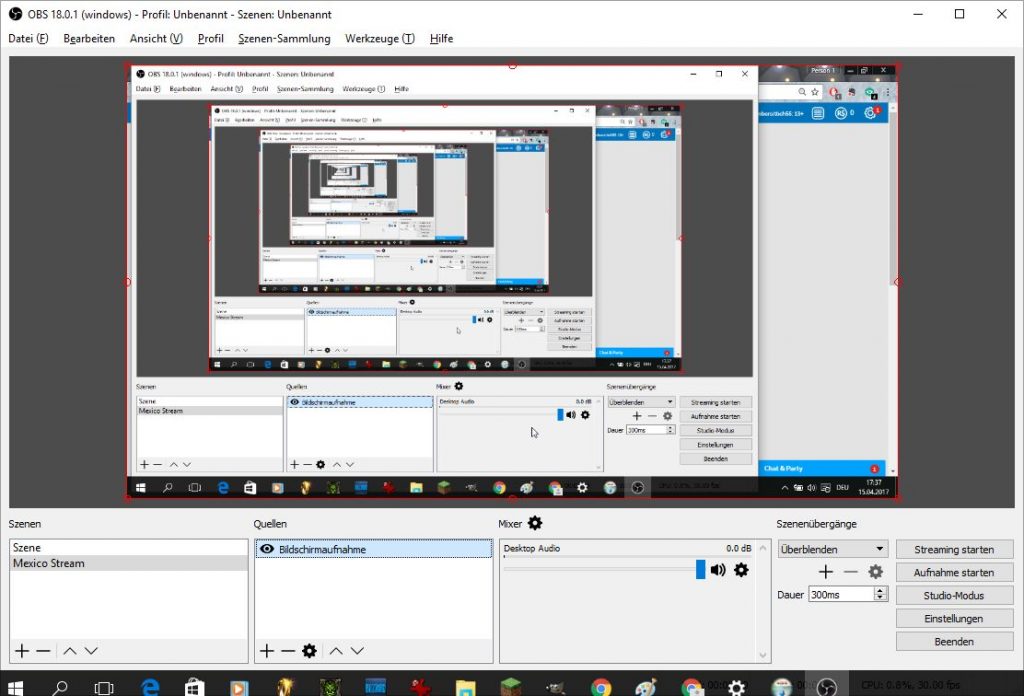
When you do (you can always change the settings for “source” later by clicking the little wheel right below it), you see two options. One is the offset and size (default should be your full screen size, but it’s worth double-checking), and the other is for showing the cursor. If you do a tutorial, it might make sense to include the cursor, if not, leave the check-box empty.
Don’t panic if you see cascading windows on the display. It makes sense when you think about it – everything is fine!
Settings
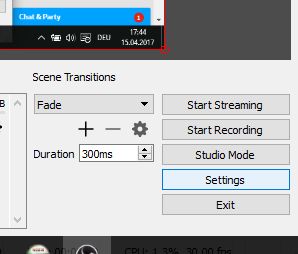
Next is “Settings,” and now this is where it really gets relevant.
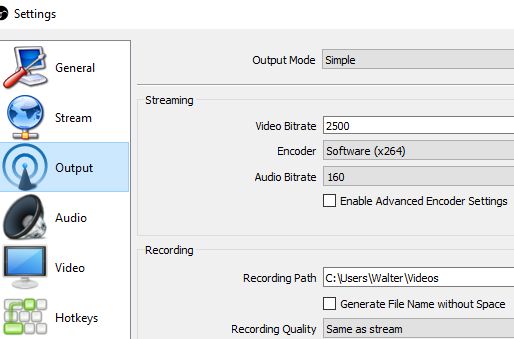
Go to “Output,” and select where your video files are supposed to go. Make sure you have enough disk-space on the partition you assign. I’m serious: If you record full-screen, the files will be huge. Also you might want to not choose your slowest hdd, if you have more than one.
Recording
IMPORTANT
Go to your Windows settings, and “Energy Options” in particular. Set “Turn off screen” and “Go to sleep” to “Never” – or your recording will black out after the time that is set there.
Back in OBS
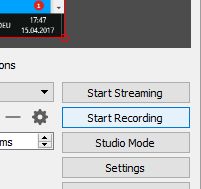
Hit “Start Recording.” (“Start Streaming” would apply if you were the one broadcasting.)
The program records everything now that is showing on your display, together with the sound you hear on your PC. Choose the best quality for the stream you want to record, switch to full screen mode, and turn off everything that makes “pling” in the background, such as Facebook, screen alerts, and similar. The video you are recording needs to be in the foreground.
Remember, the screen capture will just record what you see. Which means, the OBS will be somewhere in the background, and you cannot see if it is recording or not.
Once you started recording, the text on the button changes to “Stop Recording.” Make a little test, and check the file that is going to appear in the location you assigned before under Settings -> Output.
Check double, check with music, check if the audio sounds okay if you choose a reasonable volume.
For Mac users
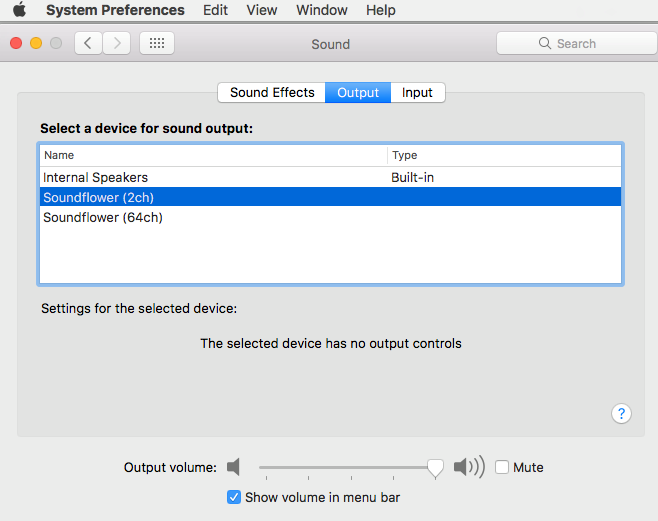
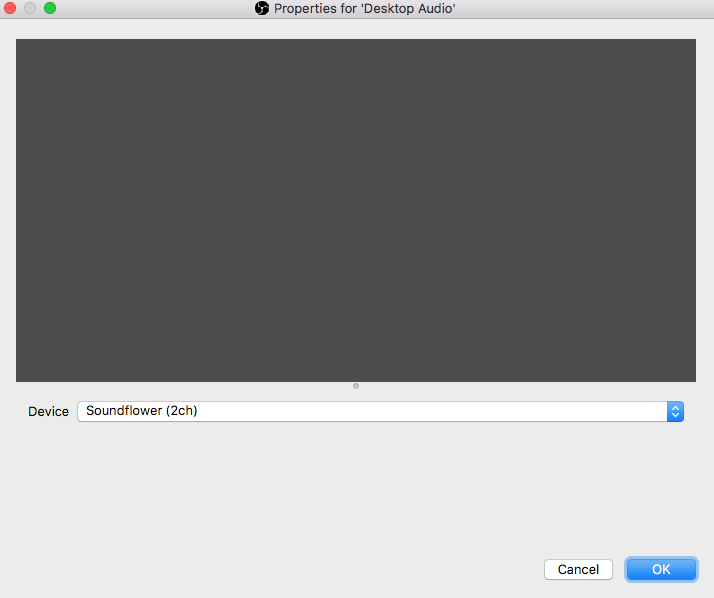
On Mac, everything is a little special. (Thanks for the great contribution!) To record audio properly, you might have to go to “System Preferences -> Sound Effects -> Output” and change it to “Soundflower (2ch)”:
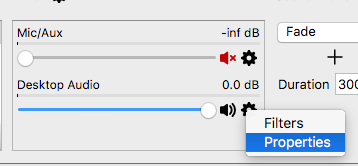
Then do the same in OBS:
To listen your movie, you have to go to system preferences again and switch back to internal speakers.
Playing the file
A great free option to play almost any video file is VLC media player: http://www.videolan.org/
It also comes with a bunch of free codecs. (A codec is a certain way to encode a file, and read it. Without the right codec, your PC cannot play a video file.)
I hope the little post helped; best of luck with recording!


